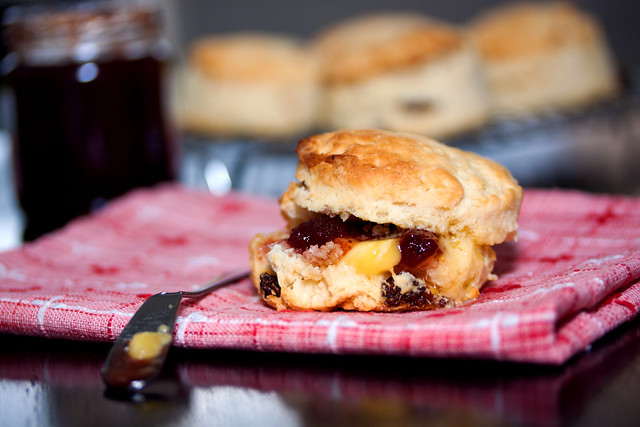
There’s nothing like a tender, steaming scone in the morning. Scones are probably the easiest and quickest of breads. They’re quick, they’re easy, and with a few tips, they are absolutely delectable.
You can also seal the cold baked scones into freezer bags, squeezing out any air, and freeze up to a month. Defrost at room temperature, then heat in a low oven for a few mins to perk them up. It's something handy to have, especially for a lazy morning.
This recipe that I am sharing with you makes light and fluffy scone with a nice crusty outside and not those rock-hard. The key to handle the dough as little as possible. Adding the liquid while it's hot gives you a head start, too - the dough seems to rise in front of your eyes as you pat it out.
Recipe: Easy Fluffy Scones
Makes: 8 (based on 7cm cutter, 2cm thick)
Ingredients:
• 350g self-raising flour, plus more for dusting
• ¼ tsp salt
• 1 tsp baking powder
• 85g cold butter, cut into cubes (i use unsalted)
• 4 tbsp golden caster sugar (i use 3.5tbsp, but for myself can further reduce to 2.5tbsp)
• 85g sultanas or chopped glacé cherries (optional)
• 150g natural full-fat yoghurt
• 4 tbsp full-fat milk
• 1 tsp vanilla extract
• 1 egg beaten with 1 tbsp milk, to glaze (i omit this and still look as good)
Method:
1. Put a baking sheet in the tray, heat up oven at 220c.
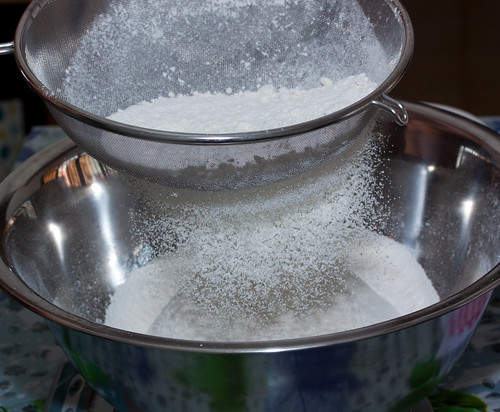
2. Sieve flour, salt and baking powder in a large bowl.
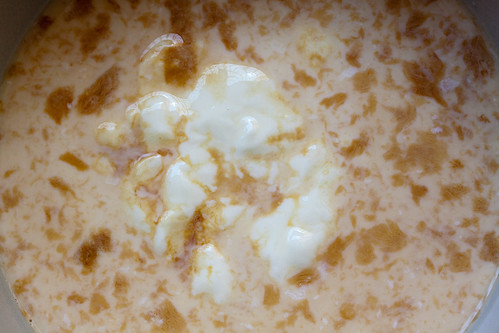
3. Warm the yoghurt, milk and vanilla together in the microwave for 1min or in a pan; it should be hot and may go a bit lumpy-looking.
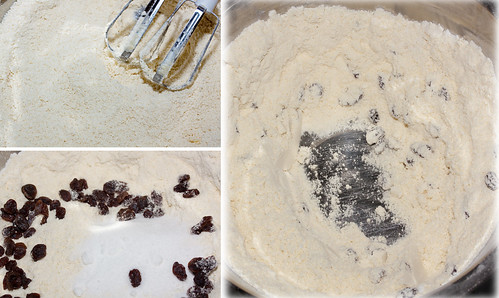
4. While waiting, whizz in the cold cubes butter with a mixer until the butter disappears and looks like like breadcrumbs. Pulse in the sugar (and sultanas/glacé cherries if you are using), then make a well in the middle.
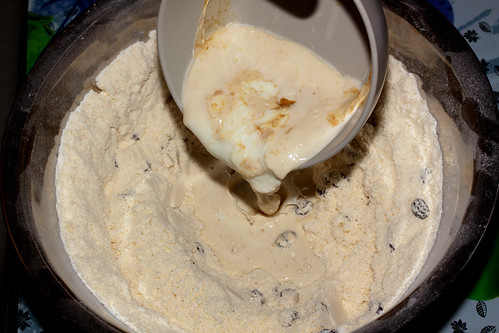
5. Tip the warm ingredients into the bowl and quickly work into the flour mix using a cutlery knife or spatula. As soon as it's all in, stop. (DO NOT OVER MIX)
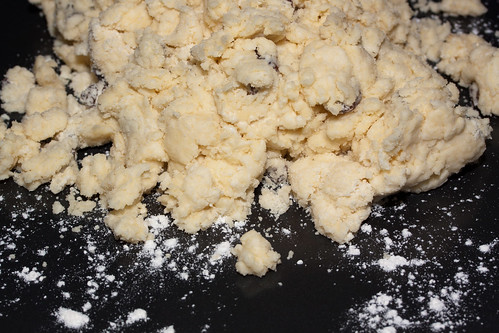
6. Transfer the dough onto a floured surface, with floured hands, fold the dough over a few times - just enough to create a smoothish dough. (OVERWORK WILL CAUSE THE DOUGH TO BECOME TOUGH)
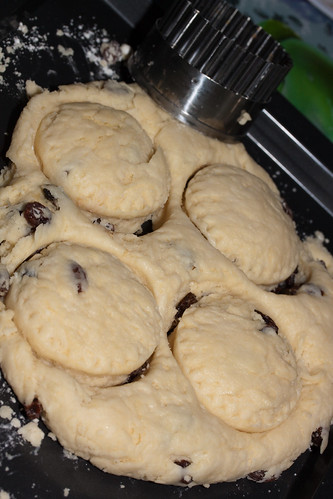
7. Press out to about 2cm thick, dip a 7cm cutter into more flour, then stamp out 4 rounds, flouring the cutter each time. Squash the remainder lightly together, then repeat until the dough is used up.
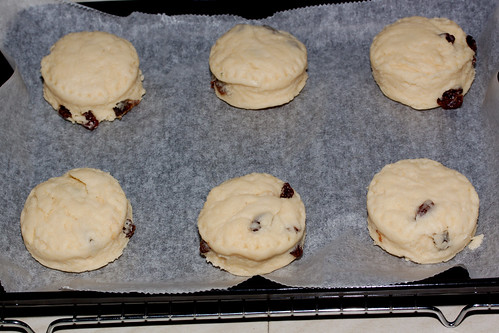
8. Brush tops with egg wash. Bake for 12mins until risen and golden. Best eaten just warm, or on the day.
Tips:
1. Keep the butter in the fridge until you are ready to use them and cut into small cubes. (The objective is to keep the butter solid and not let it melt into a liquid. In the heat of the oven, that butter melts into the dough and form multiple pockets and layers in the scones, giving them the flaky texture.)
2. Handle your dough as little as possible and don't need much strength . Kneading converts the protein to gluten. Mix only until the ingredients come together into a combined mass. You want your scones to be tender and crumbly so minimum handling helps.
3. Scones will rise to double their unbaked height in the oven. If they are properly cut, they will spread very little so you can place them close together on the baking sheet.
4. You don't need a cookie cutter, you can free-hand other shapes - Heart-shaped scones for Mothers Day or Valentines Day are perfect. You can have triangles scones too.
5. Over-baking for even a minute or two will dry your scones out. As soon as the edges begin to turn brown, remove them from the oven and immediately place them on a wire rack — the hot pan will continue to dry the scones.
The perfect scone should be hot enough to melt butter without quite burning your mouth when you bite into it. We loves our scones with salted butter and strawberry jam, what about you?

No comments:
Post a Comment